
5 Considerations for Backpotting Cable Connectors
 Written by
Wendy Jane
Preston
Written by
Wendy Jane
Preston
Adding robustness to industrial hardware by backpotting is a cost-effective way to protect connections and prolong the life-cycle of the application.
Complex and repetitive movements, such as the ones industrial robots and factory automation equipment continuously execute, expose connectors and cabling to numerous mechanical stresses over their operational life. There will be a certain level of holding force keeping contacts in the connector housing once assembled, but this is limited.
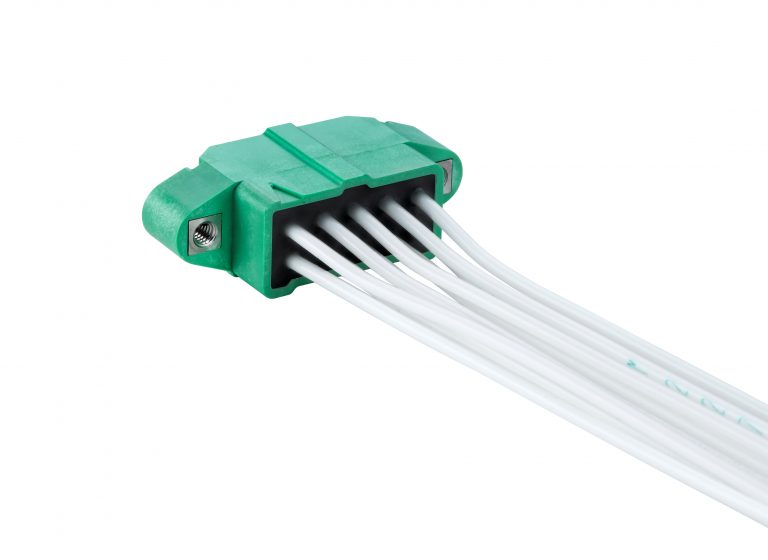
Consequently, adequate strain relief must be provided to mitigate the effects of twisting and torsion, etc. Backpotting is regularly used in heavy-duty designs (including robotics) for strain relief purposes. Here a potting compound (normally an epoxy resin) fills the area at the rear of the cable connector to bring extra robustness to the assembly.
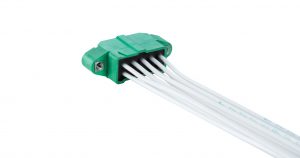
Backpotting can be used on many different cable connectors, once the cable assembly has been completed. However, it is easier to backpot when there is a specific area with a retaining wall that will contain the liquid whilst it sets.
Here are 5 scenarios where a backpotting solution should be considered:
- Firstly, is there a retaining wall on the rear of the connector? If so, no extra tooling will be required to retain the compound whilst it is in a liquid form. If there is no retaining wall, then can a hood or backshell be fitted? It might be possible to fit the hood, and then completely fill up the inside of the hood assembly with the backpotting compound. This will depend on the hood design, whether it has any holes or is a close fit to the connector, and if the potting might interfere with jackscrews or other mechanical elements.
- If there is no wall, nor a hood, then it will be necessary to build a temporary wall around the rear of the connector, to retain the compound whilst it is setting. This can be achieved with something as straightforward as standard masking tape. Once the compound has solidified, the temporary wall can be removed and the resulting backpotting will be strong enough to not require further support.
- Are all the contacts going to be wired up? If not, it will be necessary to populate every contact, or use a dummy contact arrangement for those not populated – otherwise the liquid compound will flow out through empty holes in the housing.
- Consider the actual design of the crimp contacts, as some contacts will have a very open design with no means of keeping the liquid compound at the rear of the contact. These designs are more common with open crimps on basic PCB connectors and are thus not suitable for backpotting.
- Cable contacts have a certain amount of float whilst being assembled, and there is a risk of contacts getting permanently fixed at an angle. This will make wear more acute in a particular spot and increase the required insertion force – potentially leading to early failure. Therefore, Once the backpotting has been applied, and it is in the process of setting, it is vital to keep the connector mated to another connector. This will ensure that the contacts are properly aligned within the housing when the compound hardens.
Download our step-by-step guide to backpotting

Read our guide to the cable connector and assembly options that are available from Harwin.
How can we help you?
If you would like to talk to someone about Harwin’s product, technical knowledge or documentation, contact one of our Experts for assistance.
More articles for you
What is Backpotting? When do I use Backpotting?
21 February 2019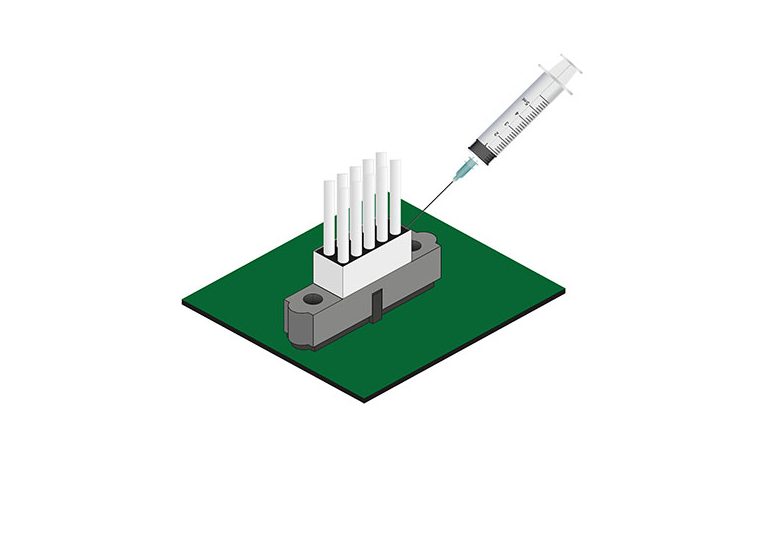
Step-by-Step Guide to Backpotting
16 July 2019
Uh oh, it looks like you are using an outdated browser version.
Some functions may not work as expected on Harwin.com in your current browser. For the best experience, more security and speed, we recommend updating your browser to the latest version.
(if you are using Internet Explorer, we recommend switching to an alternative browser.)
Still having issue? Contact [email protected] for help.